Guide to Prepare for the Sport Touring Season
Getting ready for the motorcycle season is a rite of spring. A time to shake off the winter chill and get ready to ride! An investment in careful preparation now pays off with a season of uninterrupted sport touring adventure.
The best rides are the ones you finish. A small investment in pre-season servicing adds up to more good rides.
This prep list hopes to inspire and motivate riders to get ready for another season exploring the uniquely scenic backroads of America.
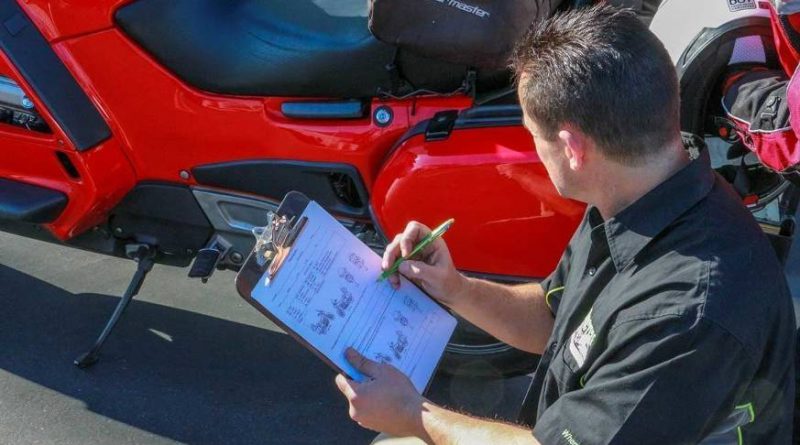
Start with a Visual Inspection
It’s good practice to look your bike over before every ride, and even more so before taking that first ride of the season. Start with a thoroughly washing to make spotting any issues easier. Look the bike over area-by-area, making a note of any concerns to address later.
Inspect Tires and Wheels
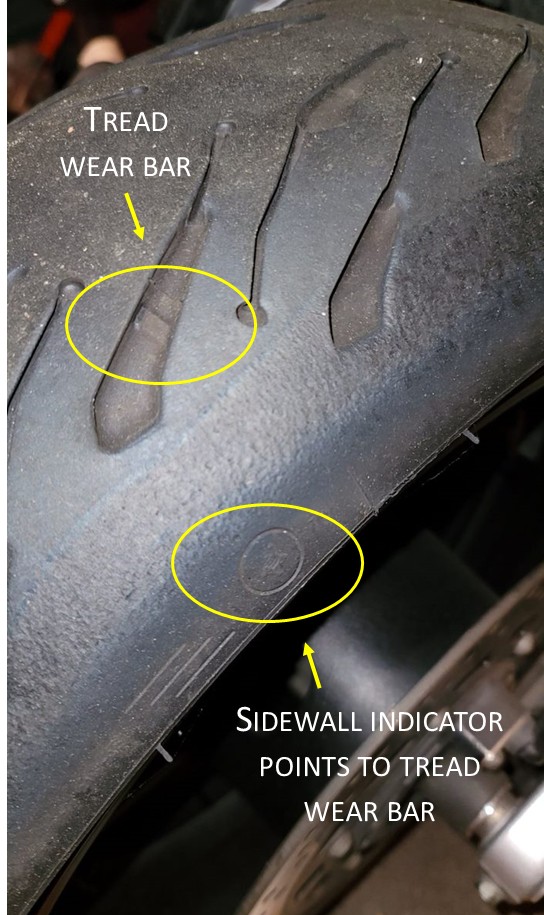
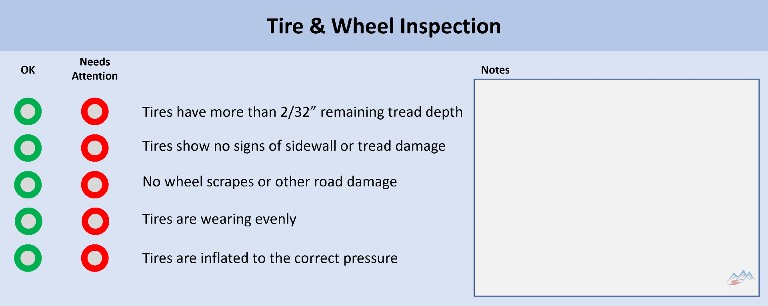
Worn or damaged tires and wheels adversely affect motorcycle handling and should be replaced immediately. Look over the tires for any signs of damage such as cracks or cuts in the sidewalls or treads. Next check remaining tire life by inspecting the wear-bars molded into the tire treads. When these bars reach the tire surface there is less than 2/32 of an inch of tread remaining and the tires are considered worn.
After inspecting the tires, also inspect the wheels for any significant scrapes or road damage that could cause handling problems or allow the tire to unseat.
While uncommon, if you notice uneven tread wear it could indicate a suspension alignment problem and should be looked at by a qualified technician.
And finally, don’t forget to ensure the tires are inflated correctly for your motorcycle and riding style, (see Find the Best Tire Pressure for Your Motorcycle).
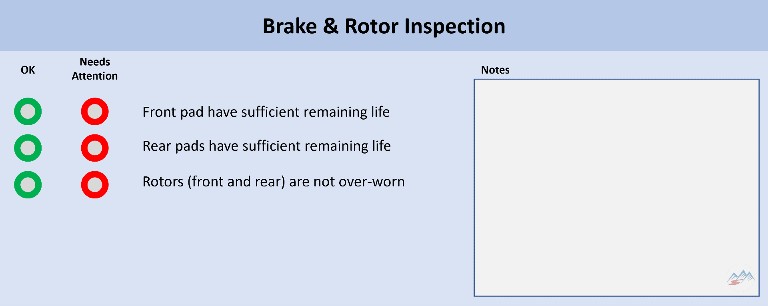
Look for Worn Brake Pads and Rotors
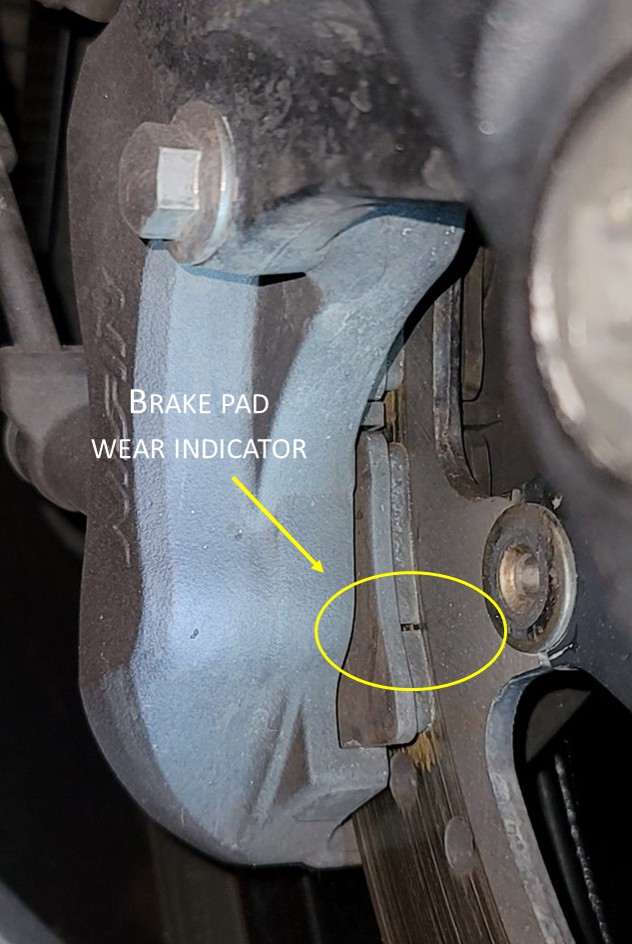
Like tires, brake pads have built-in wear indicators that can be seen at the edge of the pad between the brake caliper and rotor. If a groove is not visible or barely visible, it means there’s less than 2mm of brake lining left. Put more directly, it’s time to replace the pads.
Brake rotors don’t have convenient built-in wear indicators. Instead, look for a lip or ridge at the outer edge of the rotor beyond the brake pad contact surface. If the ridge is a millimeter (1mm) or more the rotor is at the end of its useful life and should be replaced. Likewise, replacement is in order if the rotor surface itself shows visible grooves or scoring.
Rotor cracks and warping can be an issue but are rare and hard to spot. If this is a concern, ask your mechanic to take a closer look.
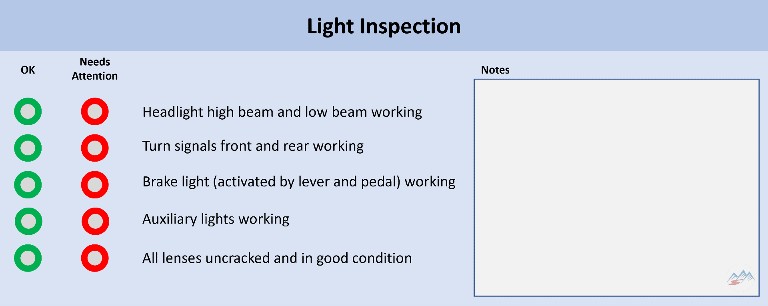
Make Sure All Lights Are Working
Take a minute to make sure headlights, taillights and turn signals are all working. Visually check the headlights, including high and low beams. Switch on the turn signals and check front and rear lights. Have a friend pull the brake lever (or roll near a wall) to confirm the brake light works and then try again with the pedal. Check any after-market auxiliary lights too. Don’t forget to look for cracked or damaged lenses that can allow water intrusion.
Check The Instrument Panel
Double check that all gauges and warning lights are working correctly. The owner’s manual will describe how to do this. In most cases warning lights illuminate when the ignition is switched on and then go off after few seconds. Some warning lights stay on until the motorcycle reaches a certain speed, for example ABS or traction control indicators. Analog gauges, such as the tachometer, rotate through their range as well to show they are working. If an indicator or gauge fails to operate, have the system checked by a qualified mechanic.

Don’t forget to check that the instrument panel backlighting (helpful at night or in tunnels) works too.

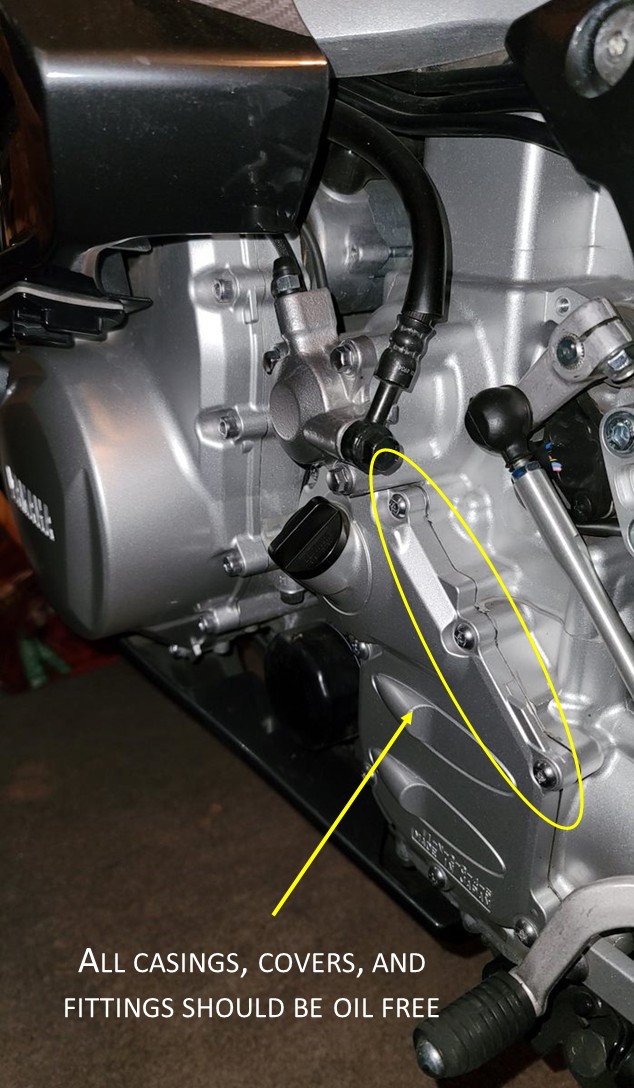
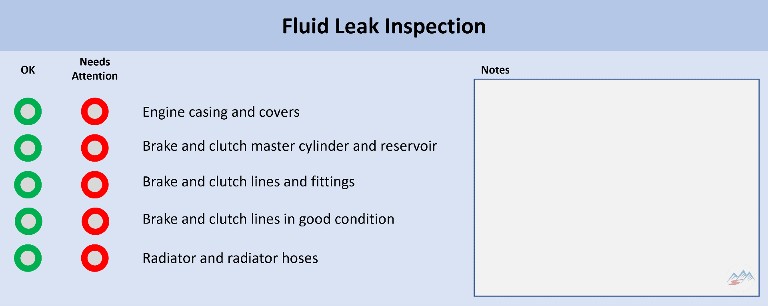
Look for Fluid Leaks
Fluid leaks are sometimes obvious and other times hidden and hard to spot. Leaks around exposed engine covers are easy to inspect. Ideally, the seams between parts are clean and oil-free. But don’t worry about a little seeping. That’s common as gaskets age and not a real concern. On the other hand, if the surface is wet and oily consider asking a qualified mechanic to have a look.
Inspect the brake and clutch master cylinders for any leaks or oozing as well. Check the clutch line and brake line fittings and then follow them to where they connect with the brake caliper or clutch assembly looking for any worn or brittle spots. Again, any discernable fluid leaks or worn hoses should trigger a visit to the shop.
Low radiator coolant and coolant leaks are harder to check given the reservoir, radiator, and hoses are usually tucked up in front of the engine and behind the fairings. Use a flashlight to peak in, try removing fairing panels, or if all else fails seek professional help for this otherwise simple task.
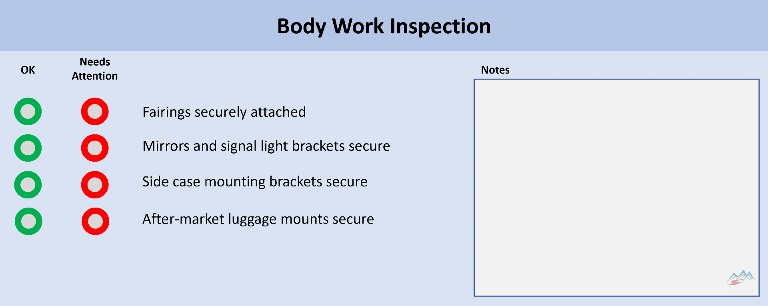
Inspect the Bodywork
Make sure fairings are properly attached, fenders are secure, and mirror mounts seated correctly. Plastic retaining clips and screws can rattle lose over time.
Also take a minute to check that side case bracket mounts are tight and side cases latch on securely. Do the same for any after-market luggage mounts, such as a tail bag or tank bag.
Perform Scheduled Maintenance
Now that the visual inspection is complete, and any concerns noted, it’s time to actually do some maintenance.
Performing regular motorcycle checks and adjustments according to manufacturer recommendations is the easiest way to get the most miles from your motorcycle. Regular service ensures reliable operation and avoids more costly repairs down the road.
Service recommendations are well described in the owner’s manual. However, an official shop service manual contains a great deal more information about how to perform regular maintenance tasks and more advanced repairs. But be warned – official manufacturer service manuals are expensive, for example the latest Yamaha FJR manual can cost up to $120.
Some service procedures are straightforward, however others, even with the help of a service manual, are best done by a trained technician. Which is why we prefer to have a professional mechanic perform factory scheduled service leaving us to do what we enjoy most – worry-free riding.
The following are generally recommended maintenance procedures to perform at the beginning of the riding season. Check the owner’s manual for anything specific to your motorcycle.
- Oil and filter change.
- Engine tune up, including spark plugs, fuel filter, fuel injectors, and air filter.
- Inspect brake and clutch fluid levels and lines, replace lines that show cracks or with leaky fittings, top-up fluids, bleed the system if levels were extremely low.
- Check the battery and charging system.
- Lubricate the drive system, Clean, lubricate, and adjust the chain, or for shaft driven motorcycles check the final drive gear oil and replace at the recommended service interval.
- Lubricate all bearings, including swing arm, suspension pivot points, and steering head and fork.
Performing service at the recommended mileage may be inconvenient, time consuming, and even costly, but it all pays off in confidence and peace of mind on the open road.
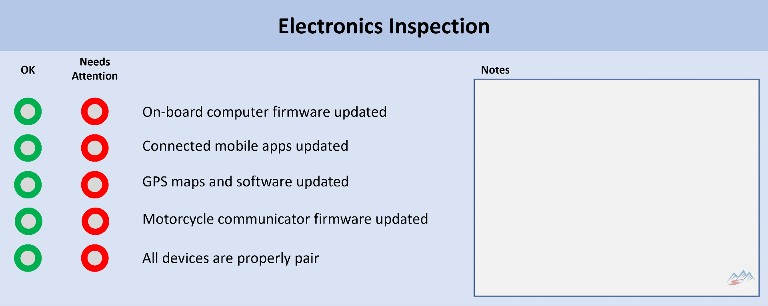
Update Electronics
The software and data that power onboard electronics and accessories require regular updates. If your motorcycle has electronic instrumentation and integrates with other devices like a mobile phone using Bluetooth, then odds are it will require updates from time to time. Your owner’s manual will explain how to check for any and how to install them when available. Don’t forget to check for mobile app updates as well. That’s particularly important for integrated services like navigation and communications.
Stand-alone GPS devices also need regular map and firmware updates. Newer devices, for example the Garmin Zumo XT, typically come with free lifetime map updates that are easy to install over a WIFI connection. Performing an update also updates any apps on the device and brings the device firmware up to date as well.
Anyone using a Sena or Cardo communicator will want to check for any firmware updates. Both companies regularly improve device firmware to address bugs, improve compatibility and connectivity with other devices, and enhance overall performance. Update instructions are available on the manufacturer’s website.
Oh, and double check that your device pairings are still intact. Few things are more frustrating than fiddling with configurations at the start of a ride.
Check Your Riding Gear
Now that your motorcycle is in shape, take a look at your gear. Start by simply trying everything on to make sure it all fits correctly. Jackets should be snug but not tight to allow plenty of upper body movement. Boots should have firm ankle protection, flexible forward movement, and of course no worn spots that could compromise weather protection. Same for gloves and pants, no weak points due to wear and no restricted movement.
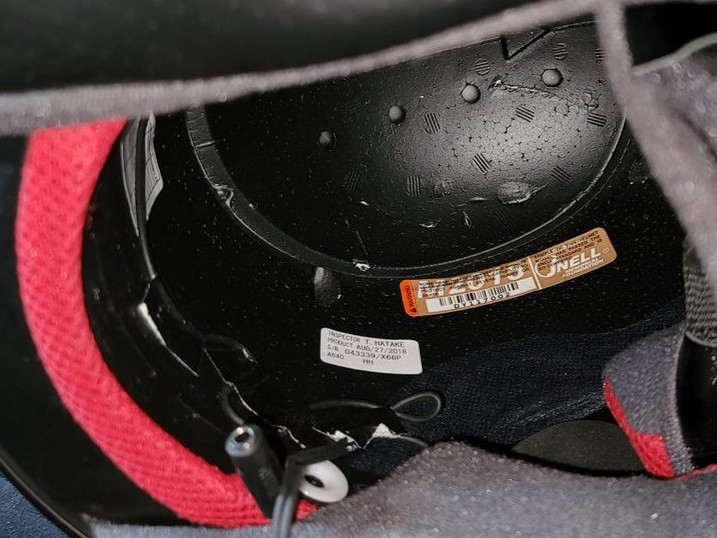
Helmets are a special area of attention. Manufacturers recommend replacing helmets every 5 years. An older, well used helmet will begin to lose its fit as pads compress and breakdown. Moreover, new helmet designs are constantly improving rider safety and comfort. Look for a sticker with the date of manufacture under the padding, often above the left ear. Snell certified helmets will have an additional sticker indicating the Snell Certification test year.
A helmet that has suffered a hard drop or worse been in a crash, should be replaced regardless of its age. Keep in mind that not all damage is visible. A dropped helmet may have hidden cracks that can weaken the shell and reduce the effectiveness of the helmet when it matters most.
Let’s Ride!
That’s it, your equipment is in order. Now sign up for spring training. Take a few break-in rides and work on any skills that feel rusty. And just as importantly, pay attention to your physical condition. Look for ideas in the article Ride Fit Ride Better.

All that’s left now is to lay out a few ride plans. Check out American Sport Touring Destinations and Tour Plans for ideas.


Did we hit the mark?
Click the Thumbs Up or Thumbs Down button to email your feedback.
Your questions and comments help improve American Sport Touring. Your email is not used for any other purpose. Please read our Privacy Policy.